

This was another Job that I got to work on with my friend Paige!
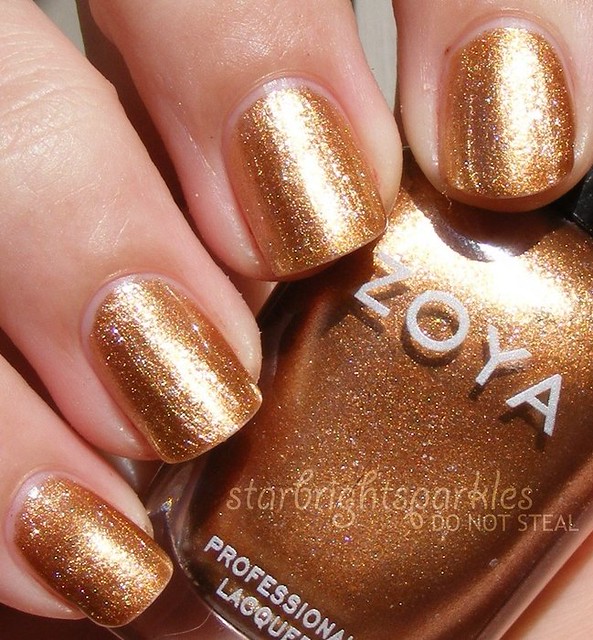
To create the look Paige was after, I needed a set of french tips, nail glue, a file, a black nail polish as well as a gold nail polish. In one of my many big cleanouts I decided that "pfft I don't use black that much, I don't need one" so I was scrambling to find a black! Luckily Orly's Le Chateau is a very dark teal jelly. SO dark it looks black in most lights. I found Zoya Richelle to be the most opaque gold in my stash.
So in class that day, I broke out my polishes, round shaped things and plastic bags. I was determined to create the moons beforehand, 'cause there ain't no way I'm doing that while on the job! But I had seen that you can paint on to plastic bags or cling wrap and peel the polish off later. So after spending half an hour trying to trace around round shaped things, I thought screw it and just painted strips of Richelle. It worked!
To create the look:
- Use Zoya Richelle to paint over 20 moon strips. This way you have extra strips if you happen to break one or they aren't quite round enough to be a moon. I painted over the strips twice so it was nice and opaque as well as having quite a rounded edge.
- Size the tips appropriately and glue as far down the nail as you can.
- Break out your file and file the life out of the edge corners! Make sure both sides are even and comes to a nice fine point.
- Clean all excess plastic and furry edges off the tips. You want a clean palette for the base colour.
- Paint two coats of Orly Le Chateau, make sure to cover the sides of the tips as they're quite thick. Let it dry almost completely.
- Get out your moon strips and cut to length. Peel one off at a time and place over the nail. Push down with some pressure. Your base colour should still be a bit tacky, so the moon should grab on quite well. Push down on the strip as far as it will go into and around the cuticle area. Any excess you can remove with remover on an ear bud.
- Top all of your nails off with a nice top coat and your design is complete! I like to use Seche Vite's Quick Dry Top Coat on models as it dries super quick and your work is less likely to get damaged.
Here is a final picture of the look:

52 Weeks of Beauty
Photographer: Jarrad Mapp Photographer
Hair and Makeup: Paige Best Hair Stylist and Makeup Artist
Nail artist: Steph


