Saturday, January 26, 2013

Nail Blogs You Need to Visit!


Hi guys!

I have some wonderful new friends from a certain page on Facebook, I wanted to share their blogs with you! And I want to remind you that on the right hand side of the page is a tab with the label 'Bloggies', this is where you will find a load more blogs to check out!


Lexie at www.nailgirl.net 


~Steph

Monday, January 7, 2013

52 Weeks of Beauty: Feature & Get The Look!


This was another Job that I got to work on with my friend Paige!

To create the look Paige was after, I needed a set of french tips, nail glue, a file, a black nail polish as well as a gold nail polish. In one of my many big cleanouts I decided that "pfft I don't use black that much, I don't need one" so I was scrambling to find a black! Luckily Orly's Le Chateau is a very dark teal jelly. SO dark it looks black in most lights. I found Zoya Richelle to be the most opaque gold in my stash.


So in class that day, I broke out my polishes, round shaped things and plastic bags. I was determined to create the moons beforehand, 'cause there ain't no way I'm doing that while on the job! But I had seen that you can paint on to plastic bags or cling wrap and peel the polish off later. So after spending half an hour trying to trace around round shaped things, I thought screw it and just painted strips of Richelle. It worked!


To create the look:


  1. Use Zoya Richelle to paint over 20 moon strips. This way you have extra strips if you happen to break one or they aren't quite round enough to be a moon. I painted over the strips twice so it was nice and opaque as well as having quite a rounded edge.
  2. Size the tips appropriately and glue as far down the nail as you can.
  3. Break out your file and file the life out of the edge corners! Make sure both sides are even and comes to a nice fine point. 
  4. Clean all excess plastic and furry edges off the tips. You want a clean palette for the base colour.
  5. Paint two coats of Orly Le Chateau, make sure to cover the sides of the tips as they're quite thick. Let it dry almost completely.
  6. Get out your moon strips and cut to length. Peel one off at a time and place over the nail. Push down with some pressure. Your base colour should still be a bit tacky, so the moon should grab on quite well. Push down on the strip as far as it will go into and around the cuticle area. Any excess you can remove with remover on an ear bud.
  7. Top all of your nails off with a nice top coat and your design is complete! I like to use Seche Vite's Quick Dry Top Coat on models as it dries super quick and your work is less likely to get damaged.


Here is a final picture of the look:


52 Weeks of Beauty
Nail artist: Steph

Wednesday, October 10, 2012

52 Weeks of Beauty: Feature & Get The Look!


Recently, I was lucky enough to be invited to work with a close friend of mine working with nails!

The brief was a retro make-up with quite muted, delicate colours. I was given free rein on the nails! My intention was to use this Konad design (M71) in muted yellows to match the wallpaper. This plate had a design that looked very similar to the wallpaper used in the shoot, but the colours I trialled didn't show up strong enough as I would have liked it to, so I didn't go ahead with it.


What I used for this look was Butter London's Bumster with a small pearl, roughly 3-4mls wide, in the centre of the moon of each nail. Very simple and easy! I dab a little bit of basecoat on top of the nail where I want the pearl to sit, and then dip my dotting tool into the base coat to pick up the pearl and place it on the nail. Give the pearl a little push into the polish to help it stick.

Here is one last peek at the make-up, I absolutely love the sugar on the lips:


Nail artist: Steph
Model: Kyra @ JAM


Tuesday, August 21, 2012

Glitter Gal Holographic in Nude NEW COLLECTION!


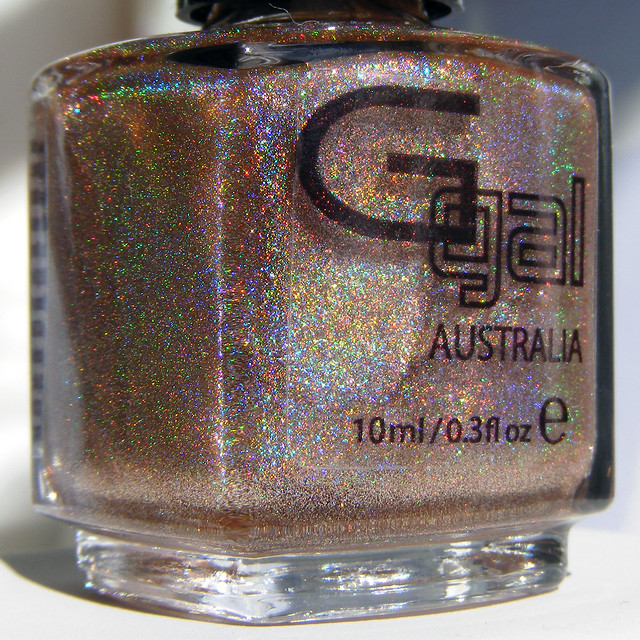
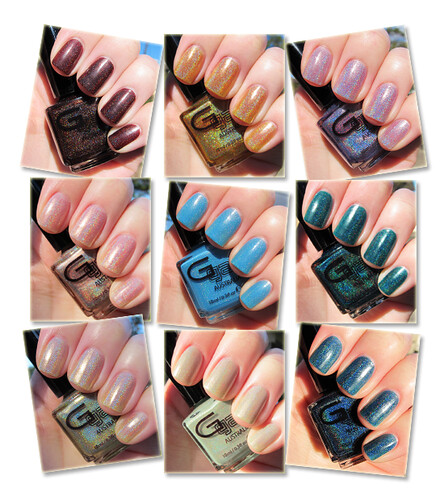
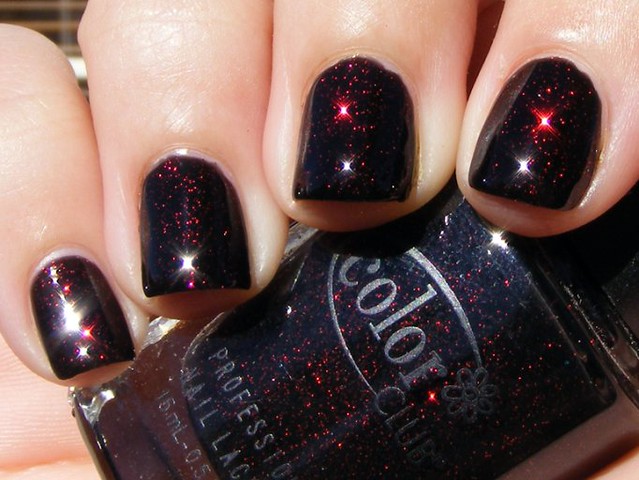
Glitter Gal is at it again! Releasing more holographic shades that we are bound to love. It's so hard to not be mesmerised (didn't Essie do a polish called that?) by a holo.


I went to a ball the other night, it was for the Queen's Jubilee and it was held by the New Zealand Army (I think). I kind of went on a blind date with one of the soldiers. AW MAN, what a nice guy. He was from Scotland. I will leave it at that or this post will turn into something else...


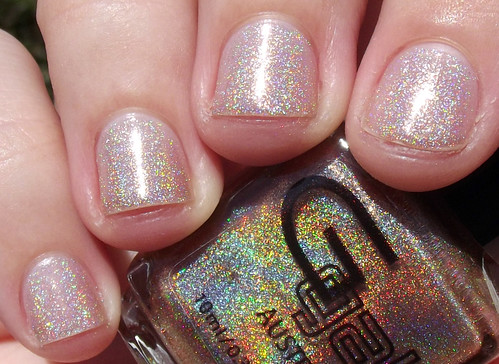
And of course your nails have to look nothing less than stunning at a ball! So I chose to wear Glitter Gal's Nude holographic polish. It was nice because my dress was azure blue silk and I didn't want anything to be too clash-y with it. My jewellery was silver, quite large too, with blue topaz coloured gemstones, so I didn't want my nails to compete with the dress or jewellery. I don't think I could have picked anything better than Glitter Gal Nude for the night.


There is something different about the smell and texture of Glitter Gal holographic polishes, I must say. I actually quite like it. The texture is very smooth and... it feels like half-melted honey to me or something. It's like when you're spreading a big chunk of Nutella onto your warm piece toast and it goes from being kind of hard to oh so soft and smooth. Glitter Gals also don't smell overly chemically. I like it.


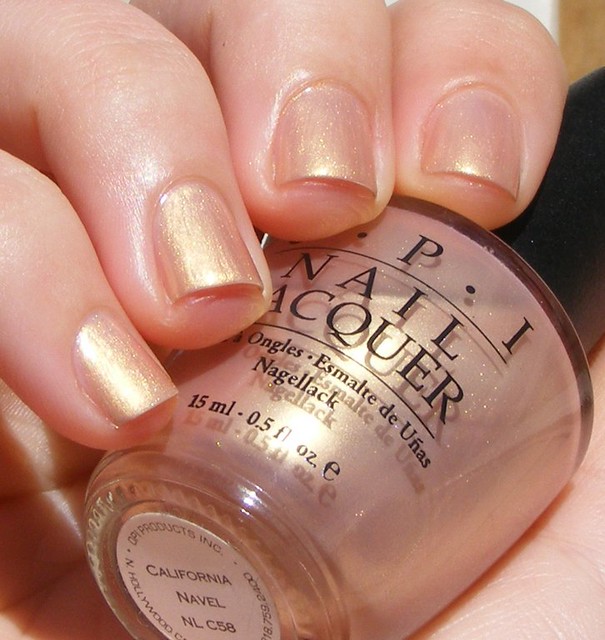
Seriously, I just want to leave Nude sitting on my window sill so I can stare at it all day. Do you ever have those moments when you've picked a colour to paint your nails, you paint them, and you think to yourself "this is one of the best decisions I've made today"? I had one of those moments with Nude.


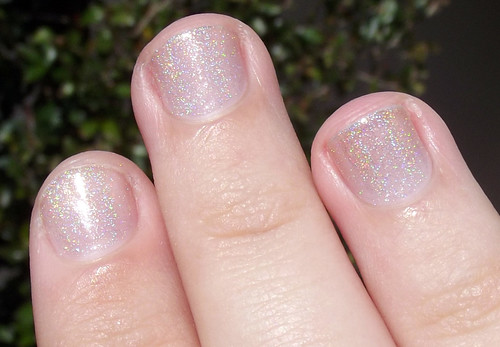
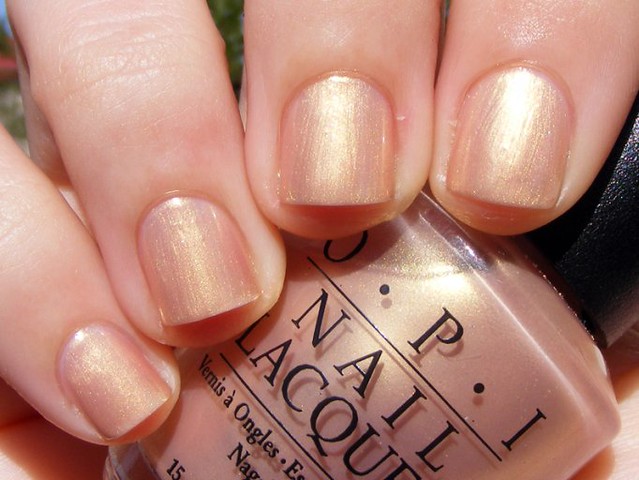
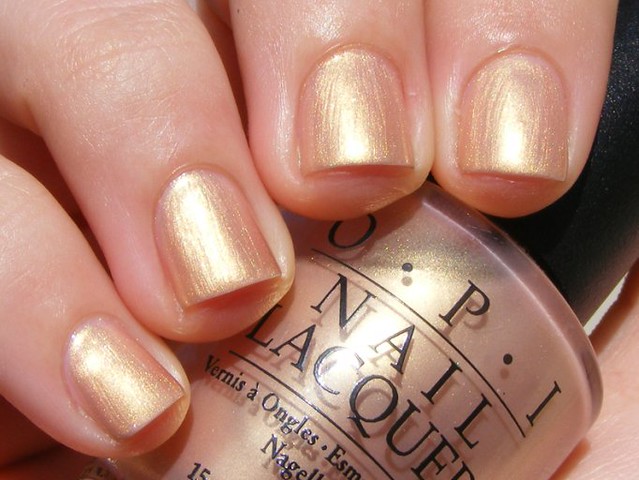
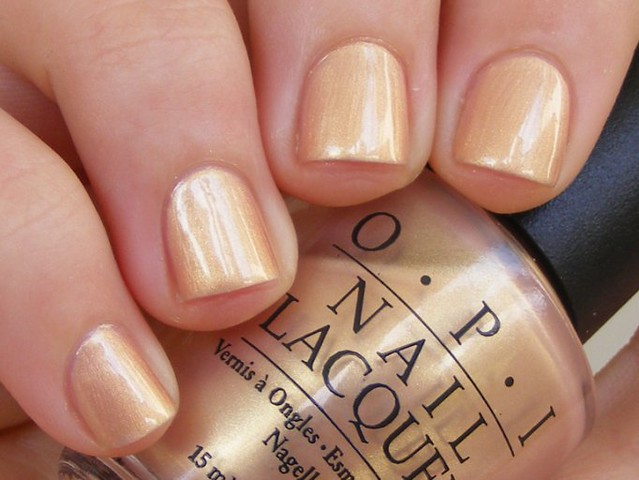
This is two coats of Nude. You can keep building and building up the intensity of holo with this one. It's also a good one for layering over other colours as it doesn't contain a base colour, just sparkles.


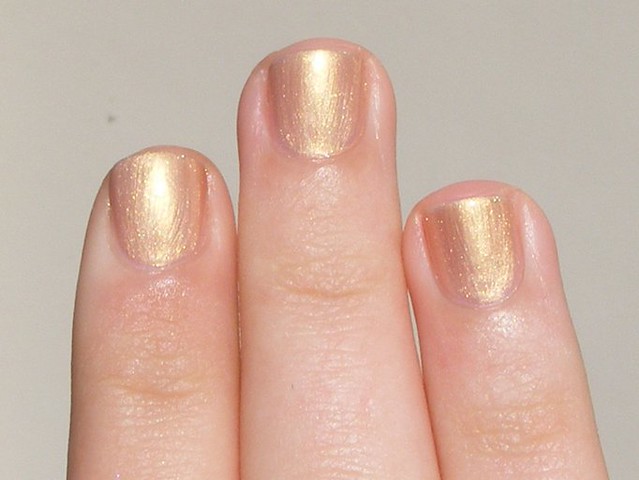
One, sweet, dainty coat of Nude.


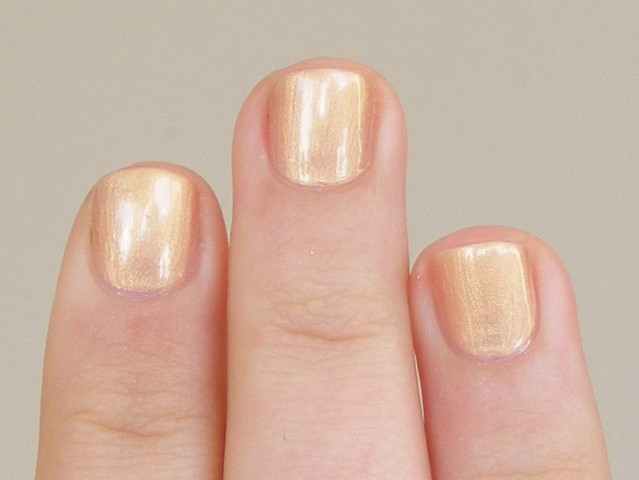
Here's two coats of Nude.

Other Glitter Gal posts:
Glitter Gal Belgian Chocolate (holographic, coming soon)

Where to buy Glitter Gal:
http://www.glittergal.com.au/

This collection will be released within a couple of weeks! Here is a picture to see the rest of them:

Friday, August 3, 2012

More Great Color Club Sales for NZ!

Just thought I would take a quick break from my uni work and tell you about these great offers Color Club has for us:


Wicked Sweet 12 Piece Display - $1.00


Wicked Sweet Mini Pack - $9.90


Untamed Luxury Diamond 7 Pack - $19.00


Femme Fatale Mini Pack - $9.90

&

Copy Coats 6 Pack - $9.95!


Let me know if you decide to get anything or have any questions!

Monday, June 25, 2012

OPI California Navel


Here's a little beauty i've been storing away in Nail Juice's back burner, OPI's California Navel. I love old. mysterious nail polishes that no one ever really knows anything about. 


I am pretty sure that this one is from OPI's California collection which was released in Australia (?) a good while back. That glow is just stunning.

The formula is very thin and sheer but seems to build up quickly in 2-3 coats.


I also have another from this California collection, Surf's Up! And here is a comparison with Surf and some similar blues.

I've got a break from uni work now so I'll be getting back into blogging very shortly. I have some wonderful things to show you!

Friday, May 18, 2012

Color Club Steel of The Night


Long time, no see! How are you doing? I have been swamped with uni work this year. Not sure if I am excited or scared for next year... 

Today I have Color Club's Steel of the Night to show you!


As you can see, Steel is a magnetic polish. I've been painting a lot of my friends' nails at the moment and they just go nuts over the magnetics! I think they're the most used polishes from my stash at the moment. I adore nail art and this is such an easy way to do it.


To get this effect I applied a reasonably thick coat (just one) and immediately held the magnet over my nail for around 15 seconds. The formula is nice too, not thin or goopy.

I was really surprised that you only needed one coat. As always, I was a little bit skeptical over how it would work but it's just so easy.


They will be available in Amazon surf stores and pharmacies. RRP $21.90. But if you are super lucky, you may win the whole set! 

Just send an email to nailjuice@live.com with the subject "Color Club Magnetic Force Entry" along with your name :) I will email the winner June 30th!

A big thank-you to Color Club New Zealand for sponsoring this :D!